Connect your app
You can add RateHighly to any web application. These installation steps are necessary to use RateHighly.
Installation typically takes 5-10 minutes. If you have any questions during set-up or need help with installing RateHighly please contact our support team who will be happy to help you.
Installing RateHighly
Pre-requisites
- Ensure that the Domain set in your App Settings matches the domain where you will install RateHighly.
Installation steps
Follow these steps to add RateHighly to your application.
- Go to Manage Campaign
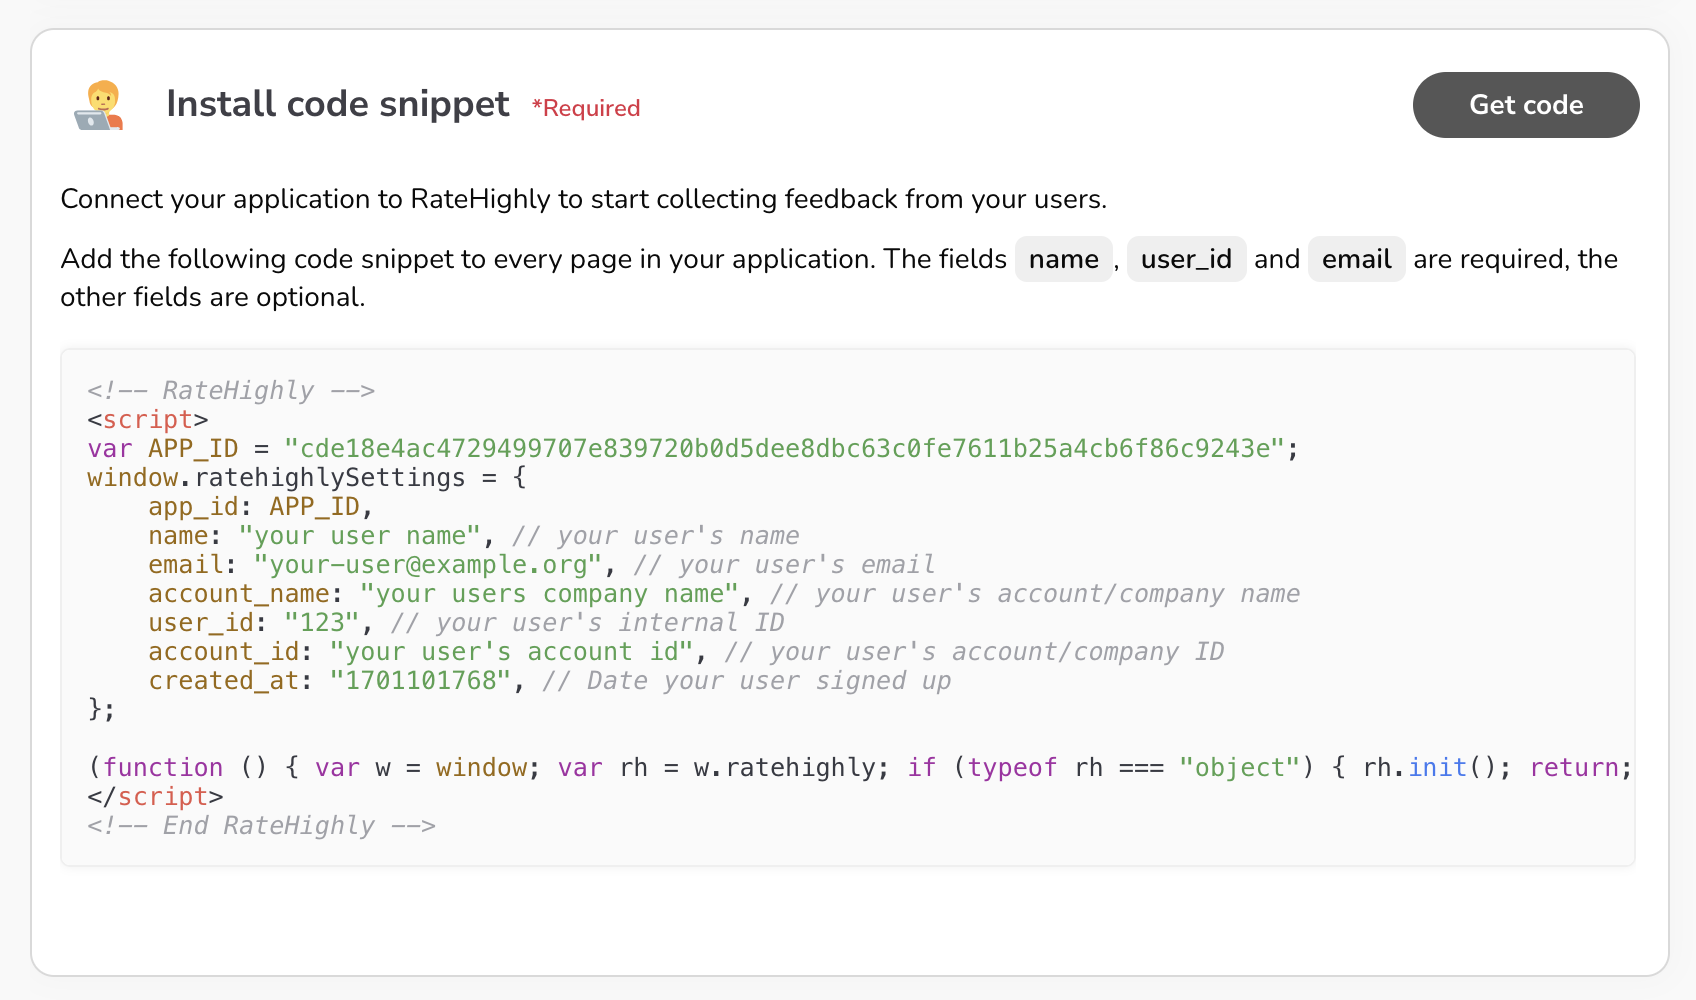
- Click get code and copy the code snippet

- Add the snippet just above the closing </body> tag in the HTML of your application, in the same place that you would put a Google Analytics script.
- Modify the
window.ratehighlySettingsObject so that the fieldsname,email,account_name,account_id,user_id, andcreated_atcontain your active user details. Only theapp_idfield is required, but we recommend including the other fields if you don’t want feedback and testimonials to be anonymous.
For instance, in a Ruby on Rails application you might have the following configuration:
window.ratehighlySettings = {
  app_id: APP_ID,
  name: "<%= current_user.name %>",
  email: "<%= current_user.email %>",
  user_id: "<%= current_user.id %>",
  account_name: "<%= current_user.account.name %>",
  account_id: "<%= current_user.account.id %>",
  created_at: "<%= current_user.created_at %>",
}
FAQ
Which fields are required?
The app_id is the only required field.
However, we recommend you provide the fields name, email, and user_id. Without these fields your feedback, testimonials, and in-app ratings will be anonymous and RateHighly won’t be able to send your users emails on your behalf.
The created_at field enables the filters Predicted Score and Days since signup to work better. The account_name and account_id fields are used to group your users together in the dashboard.